Open and build an Xcode project on Windows alongside Mac teammates
Your team already has an iOS project developed in Xcode on a Mac. You want to keep writing code on Windows, build it and debug it on an iPhone, while your Mac teammates keep opening it in Xcode after you commit. This tutorial shows, step by step, how to get the project running on Windows and what to agree on when both sides share one repository.
You need access to the repository, an iPhone and a cable, certificates under the team’s developer account, and a PC with KXBuild and the VS Code extension installed. If you haven’t installed them yet, follow the install page.
Clone the code
Source and project files on a Mac use LF line endings, but Git for Windows converts them to CRLF on checkout by default. Before cloning, tell Git to keep LF. This keeps scripts from failing on Windows and keeps your commits from showing whole-file changes for your Mac teammates.
1git config --global core.autocrlf input
2git clone git@example.com:team/MyApp.git D:\proj\MyApp
Keep the project on a short path such as D:\proj. With deeply nested folders, Windows may complain that file names are too long.
Open it in VS Code
In VS Code, use File > Open Folder… and choose the folder that contains the .xcodeproj or .xcworkspace, or drag that folder into VS Code. For a CocoaPods project, open the folder with the Podfile.
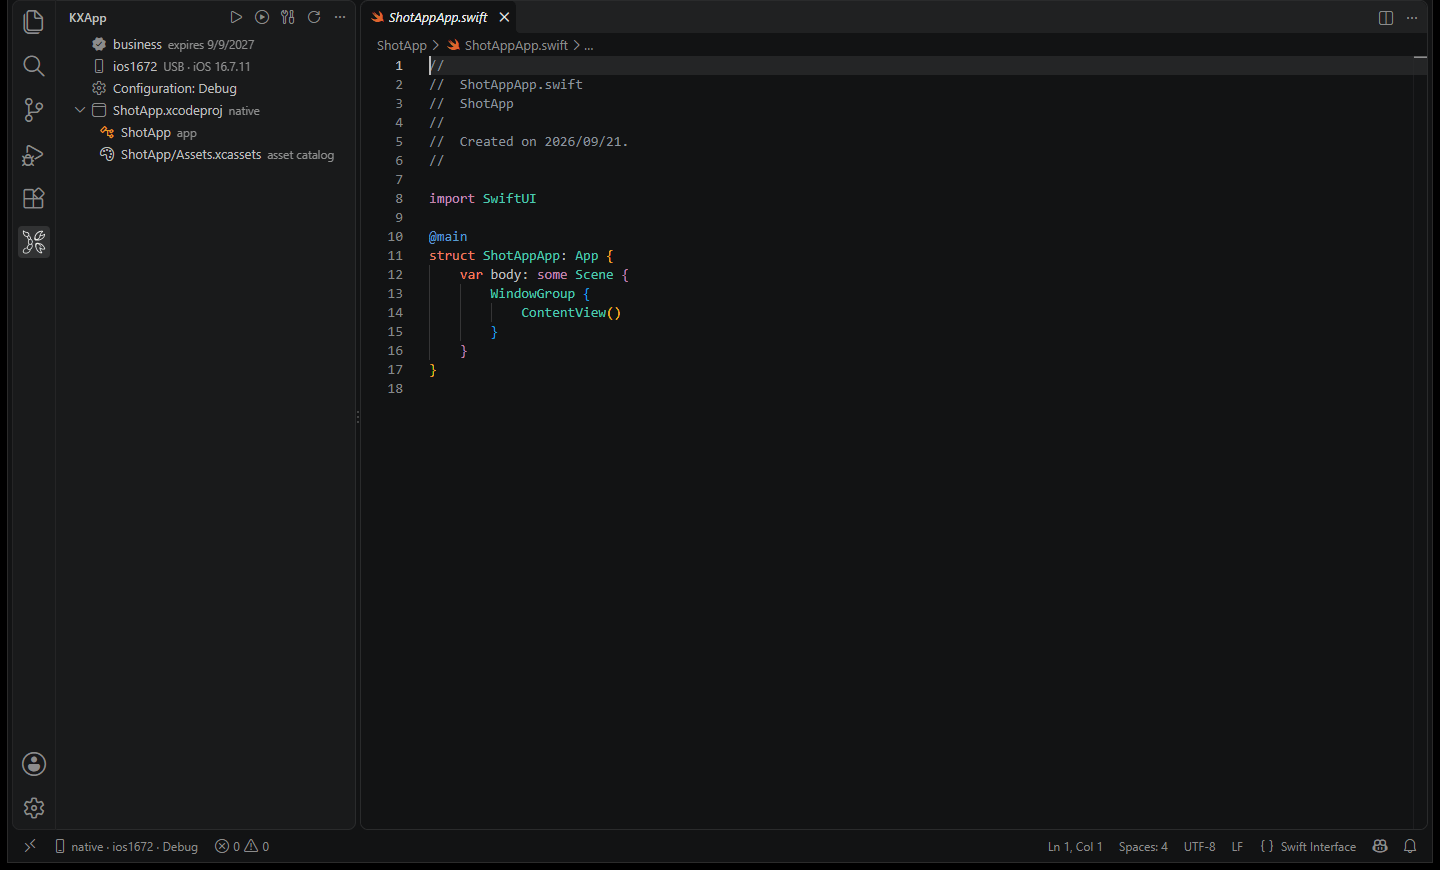
The KXBuild view on the left then lists the projects in the folder and each of their targets. If the repository has several projects, F5 and Build act on the startup project, which has a star. Click a project node to switch. See Sidebar and Status Bar.
Run doctor
Run doctor the first time you open the project. It checks the build environment, CocoaPods and the device drivers, and prepares the project for iOS. Use either of these.
- VS Code extension. In the title bar of the KXBuild view, open the “···” menu and run “Doctor (fix environment)”.
- Command line. Run the command below in the project folder.
1kxbuild doctor .\MyApp.xcodeproj
If targets don’t load in the KXBuild view or a build fails with an environment error, run doctor first too.
Install dependencies
Swift packages
Swift packages added in Xcode with “Add Package Dependencies” need no manual steps. They’re downloaded and resolved automatically before the first build, at the versions in the repository’s Package.resolved, exactly the same as your Mac teammates use. This file lives in .xcodeproj/project.xcworkspace/xcshareddata/swiftpm/ (or .xcworkspace/xcshareddata/swiftpm/ if you use a workspace) and must be committed.
If packages won’t download or can’t be found, force a fresh resolve. It’s the equivalent of Reset Package Caches in Xcode.
1kxbuild resolve .\MyApp.xcodeproj --force
To add a new package on Windows, run KXBuild: Add Swift Package Dependency… from the Command Palette, enter the package’s Git URL and pick the products. The result is the same as adding it in Xcode, and your Mac teammates can use it as soon as they pull. See Develop Swift iOS apps on Windows.
CocoaPods
Run pod install once in the folder with the Podfile. It creates the Pods folder and the .xcworkspace. From then on, build and debug with the .xcworkspace. With the .xcodeproj, the libraries in Pods won’t be found.
1pod install
When a teammate changes the Podfile or Podfile.lock changes, run pod install again after pulling. Otherwise the build reports that the sandbox is not in sync with the Podfile.lock. For Podfile syntax, spec sources and common issues, see Develop iOS apps with CocoaPods on Windows.
Check the schemes
To see the project’s schemes, targets and bundle IDs, run this command.
1kxbuild project info .\MyApp.xcodeproj
If a teammate created a scheme in Xcode without checking Shared, it only exists in their own xcuserdata. Windows can’t see it, and the build reports scheme not found. Ask them to check Shared for the schemes you need in Xcode under Product > Scheme > Manage Schemes. Those schemes are then saved to xcshareddata/xcschemes, and once committed, both sides can use them.
Signing
On Windows there’s no Xcode to download certificates for you, so you put the certificate and provisioning profile in the keychain folder yourself. Use the team’s existing certificates.
- Certificate. Ask a teammate with the right access to export the Apple Development certificate together with its private key as a .p12 from Keychain Access on the Mac. A .cer alone won’t work. You can also create a separate development certificate under the team with your own Apple ID.
- Provisioning profile. First register your iPhone’s UDID under Devices on the developer website, then regenerate or download a Development profile that includes this device. Run
kxdevice device listto see the UDID. It’s the first column.
Put both files in the keychain folder in the project root, and add one line in the form file=password to password.properties in the same folder. To set them up once for every project, put them in the keychain folder under the KXBuild install folder instead.
1development.p12=123456
You don’t need to change the project’s existing signing settings. As in Xcode, the build picks the certificate from the project’s signing settings, and with automatic signing it matches the provisioning profile by bundle ID and team ID. So the certificate and profile must belong to the team set in the project’s DEVELOPMENT_TEAM. If you get errors, work through Certificates and signing.
Run on your iPhone
Connect the iPhone with the cable and click it under the Device node in the KXBuild view to select it. On the first connection you install the device drivers, tap Trust on the phone and turn on Developer Mode. See Set up your device. Then set a breakpoint in your source and press F5. KXBuild builds, signs, installs and launches the app, and stops at the breakpoint. Breakpoints work in both Swift and Objective-C code.
If the project has several app targets, F5 asks you to pick one. To skip the question, click Build & Run on the target row, or pin it in launch.json as shown in Run and debug.
Working with Mac teammates
What .gitignore should exclude
Keep personal state, build output and certificates out of the repository. Here’s a version that works for both sides. If you already have a .gitignore, add the lines that are missing.
 1# Xcode personal state
 2xcuserdata/
 3*.xcuserstate
 4.DS_Store
 5
 6# Build output
 7DerivedData/
 8build/
 9compile_commands.json
10
11# Certificate folder, contains private keys and passwords
12keychain/
xcuserdata holds each person’s breakpoints, window layout and unshared schemes, and committing it means people overwrite each other. build/ is where KXBuild puts the .ipa. compile_commands.json is for code completion on Windows and is generated automatically. keychain/ contains private keys and passwords and must never be committed.
What you do commit is project.pbxproj inside .xcodeproj, the xcshareddata folder (shared schemes and Package.resolved), and the Podfile and Podfile.lock.
Should you commit the Pods folder?
CocoaPods officially accepts both. If you don’t commit Pods, the repository stays small and merges stay clean, and everyone runs pod install after pulling. Most teams do this. If you commit Pods, the project builds right after cloning with no network access needed, but every dependency update brings a large number of changed files. Either way, commit Podfile.lock so both sides install the same versions.
project.pbxproj merge conflicts
When two people add files or change build settings at the same time, project.pbxproj is the file most likely to conflict. A few ways to reduce conflicts.
- Pull often and commit small. Commit soon after adding files instead of merging a pile of changes at once.
- Ask a Mac teammate to convert groups to folders. Since Xcode 16, new projects use folders (blue icon) by default. Files in the folder are compiled automatically, and adding files no longer touches project.pbxproj. Groups in older projects (yellow icon) can be converted in Xcode by right-clicking and choosing “Convert to Folder”.
- Change settings with the editor. When you change build settings on Windows, use the Project Settings Editor. Saving only touches the affected lines and doesn’t reorder the whole file.
If there’s a real conflict, open project.pbxproj and resolve it by hand. You usually keep the entries added on both sides and just remove the conflict markers. After resolving, build once on Windows to confirm the project still loads before you commit.
While the project still uses groups, new source files you create on Windows must be added to project.pbxproj to be compiled. The safest way is to ask a Mac teammate to add the files to the project in Xcode, or to convert to folders first.
Storyboards and XIBs
Storyboards, XIBs, asset catalogs and Core Data models all compile normally on Windows, but there’s no Interface Builder, so you can’t edit interface files visually. Agree that interface files are edited on the Mac, while Windows builds and runs them as usual. New screens developed on Windows can use SwiftUI or UIKit in code, which both sides can edit.
A storyboard is XML and opens in a text editor, but editing constraints and connections by hand is error-prone. Apart from small changes like a label’s text or a class name, avoid editing them directly on Windows. Several people editing the same storyboard also tends to cause conflicts, so projects with many screens can split them into one storyboard per module.
Run Script phases
Run Script phases in Build Phases run on Windows too. If a script calls a tool that’s only installed on the Mac, such as SwiftLint or SwiftGen from Homebrew, the command won’t be found on Windows and the build fails. In such scripts, check that the command exists before calling it, and skip it if it doesn’t.
1if command -v swiftlint >/dev/null 2>&1; then
2  swiftlint
3else
4  echo "warning: swiftlint not installed, skipped"
5fi
Linking fails with an undefined …vpfi symbol
If a Debug build fails at the link step with undefined symbol: …vpfi, you’ve hit a known issue in the open-source Swift compiler when it compiles file by file. It happens with a property that has an initial value, such as @State private var count = 0, when the struct’s init is in another file. Remote Swift packages are already built as a whole module by default, so the error comes from your own code or a local package.
You don’t need to change the code. Set the environment variable KXBUILD_SWIFT_WHOLE_MODULE=all on your own computer and on the build machine, reopen VS Code and build again. Every Swift target is then built as a whole module. The project file stays the same, so your Mac teammates aren’t affected. The trade-off is that changing one file recompiles the whole module.
1setx KXBUILD_SWIFT_WHOLE_MODULE all
For the possible values, see Folders and environment variables.
Change common settings
You can change project settings without opening Xcode. The saved format is the same as Xcode’s, so your Mac teammates see no extra changes after pulling.
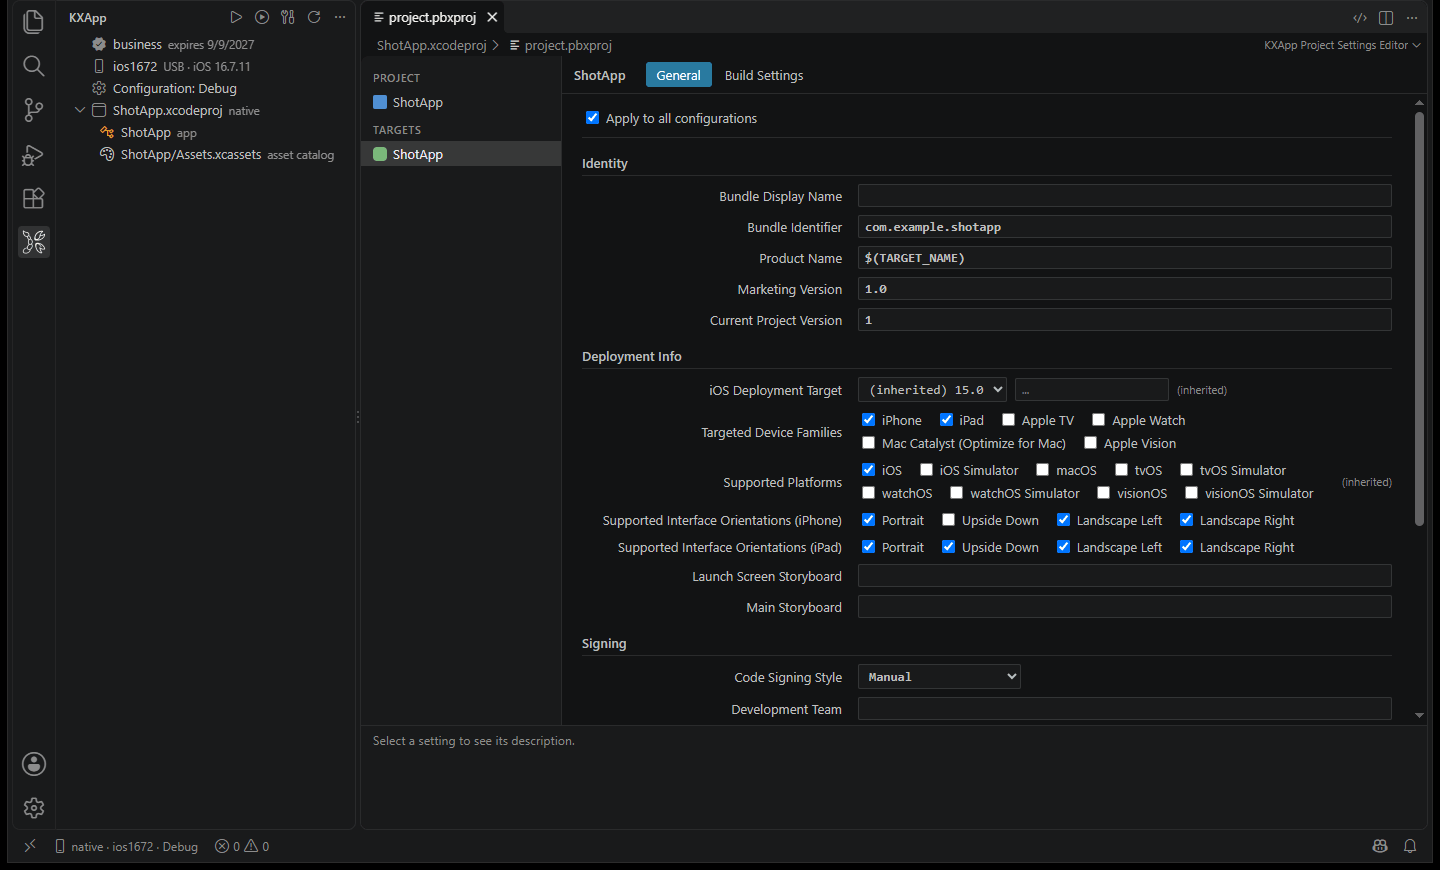
- Project settings. In the KXBuild view, right-click the target and choose “KXBuild: Edit Target Settings”. The General page lets you change Display Name, Bundle Identifier, the version number, the minimum iOS version and the signing style. The Build Settings page shows, as in Xcode, which level each setting takes effect at. See Project Settings Editor.
- Info.plist and entitlements. Double-click
Info.plist, an.entitlementsfile orPrivacyInfo.xcprivacyto open it in a table editor. This is where you add permission purpose strings, change URL schemes and adjust ATS settings. Saving keeps the file’s original format and indentation. See Property List Editor.